

How to make Christmas ornaments work in your holiday decor starts with a plan, not a crowded tree. Pick a theme, choose ready-made wooden designs that suit it, then hang each piece where it can be seen. You can use the same ornaments on a wreath, mantel, or gift for a tied-together look.
Step 1: Choose a Christmas Tree Theme and Color Palette
Choose the look before you shop. A theme gives your ornaments a common thread, while a short color palette helps the tree feel considered even when the shapes vary. You might aim for a traditional red-and-green tree, a winter look with blue and white, or a bright display with several strong colors.
Pick two main colors, then add one accent if you want more contrast. For example, red and green can carry a classic theme, with gold used in small touches. If your room already has bold colors, repeat one of them on the tree rather than adding a whole new palette. A color scheme is a planned group of colors that work together.
Now choose a theme that suits your home. Angels can give the tree a gentle, classic feel. Snowmen add a playful note, while Santa designs suit a bright, familiar holiday display. Musician ornaments can bring a personal touch to a music-themed tree. You don’t need every ornament to show the same subject. Keep the palette steady, and use a few different shapes for interest.
Think about the room, too. A bold tree can carry colorful ornaments, while a small tree may look better with fewer designs repeated across its branches. A focused palette can suit different decorating styles.
Before buying, write down your theme and colors. That short note makes it easier to choose ornaments that belong together instead of grabbing pieces that only look good on their own.
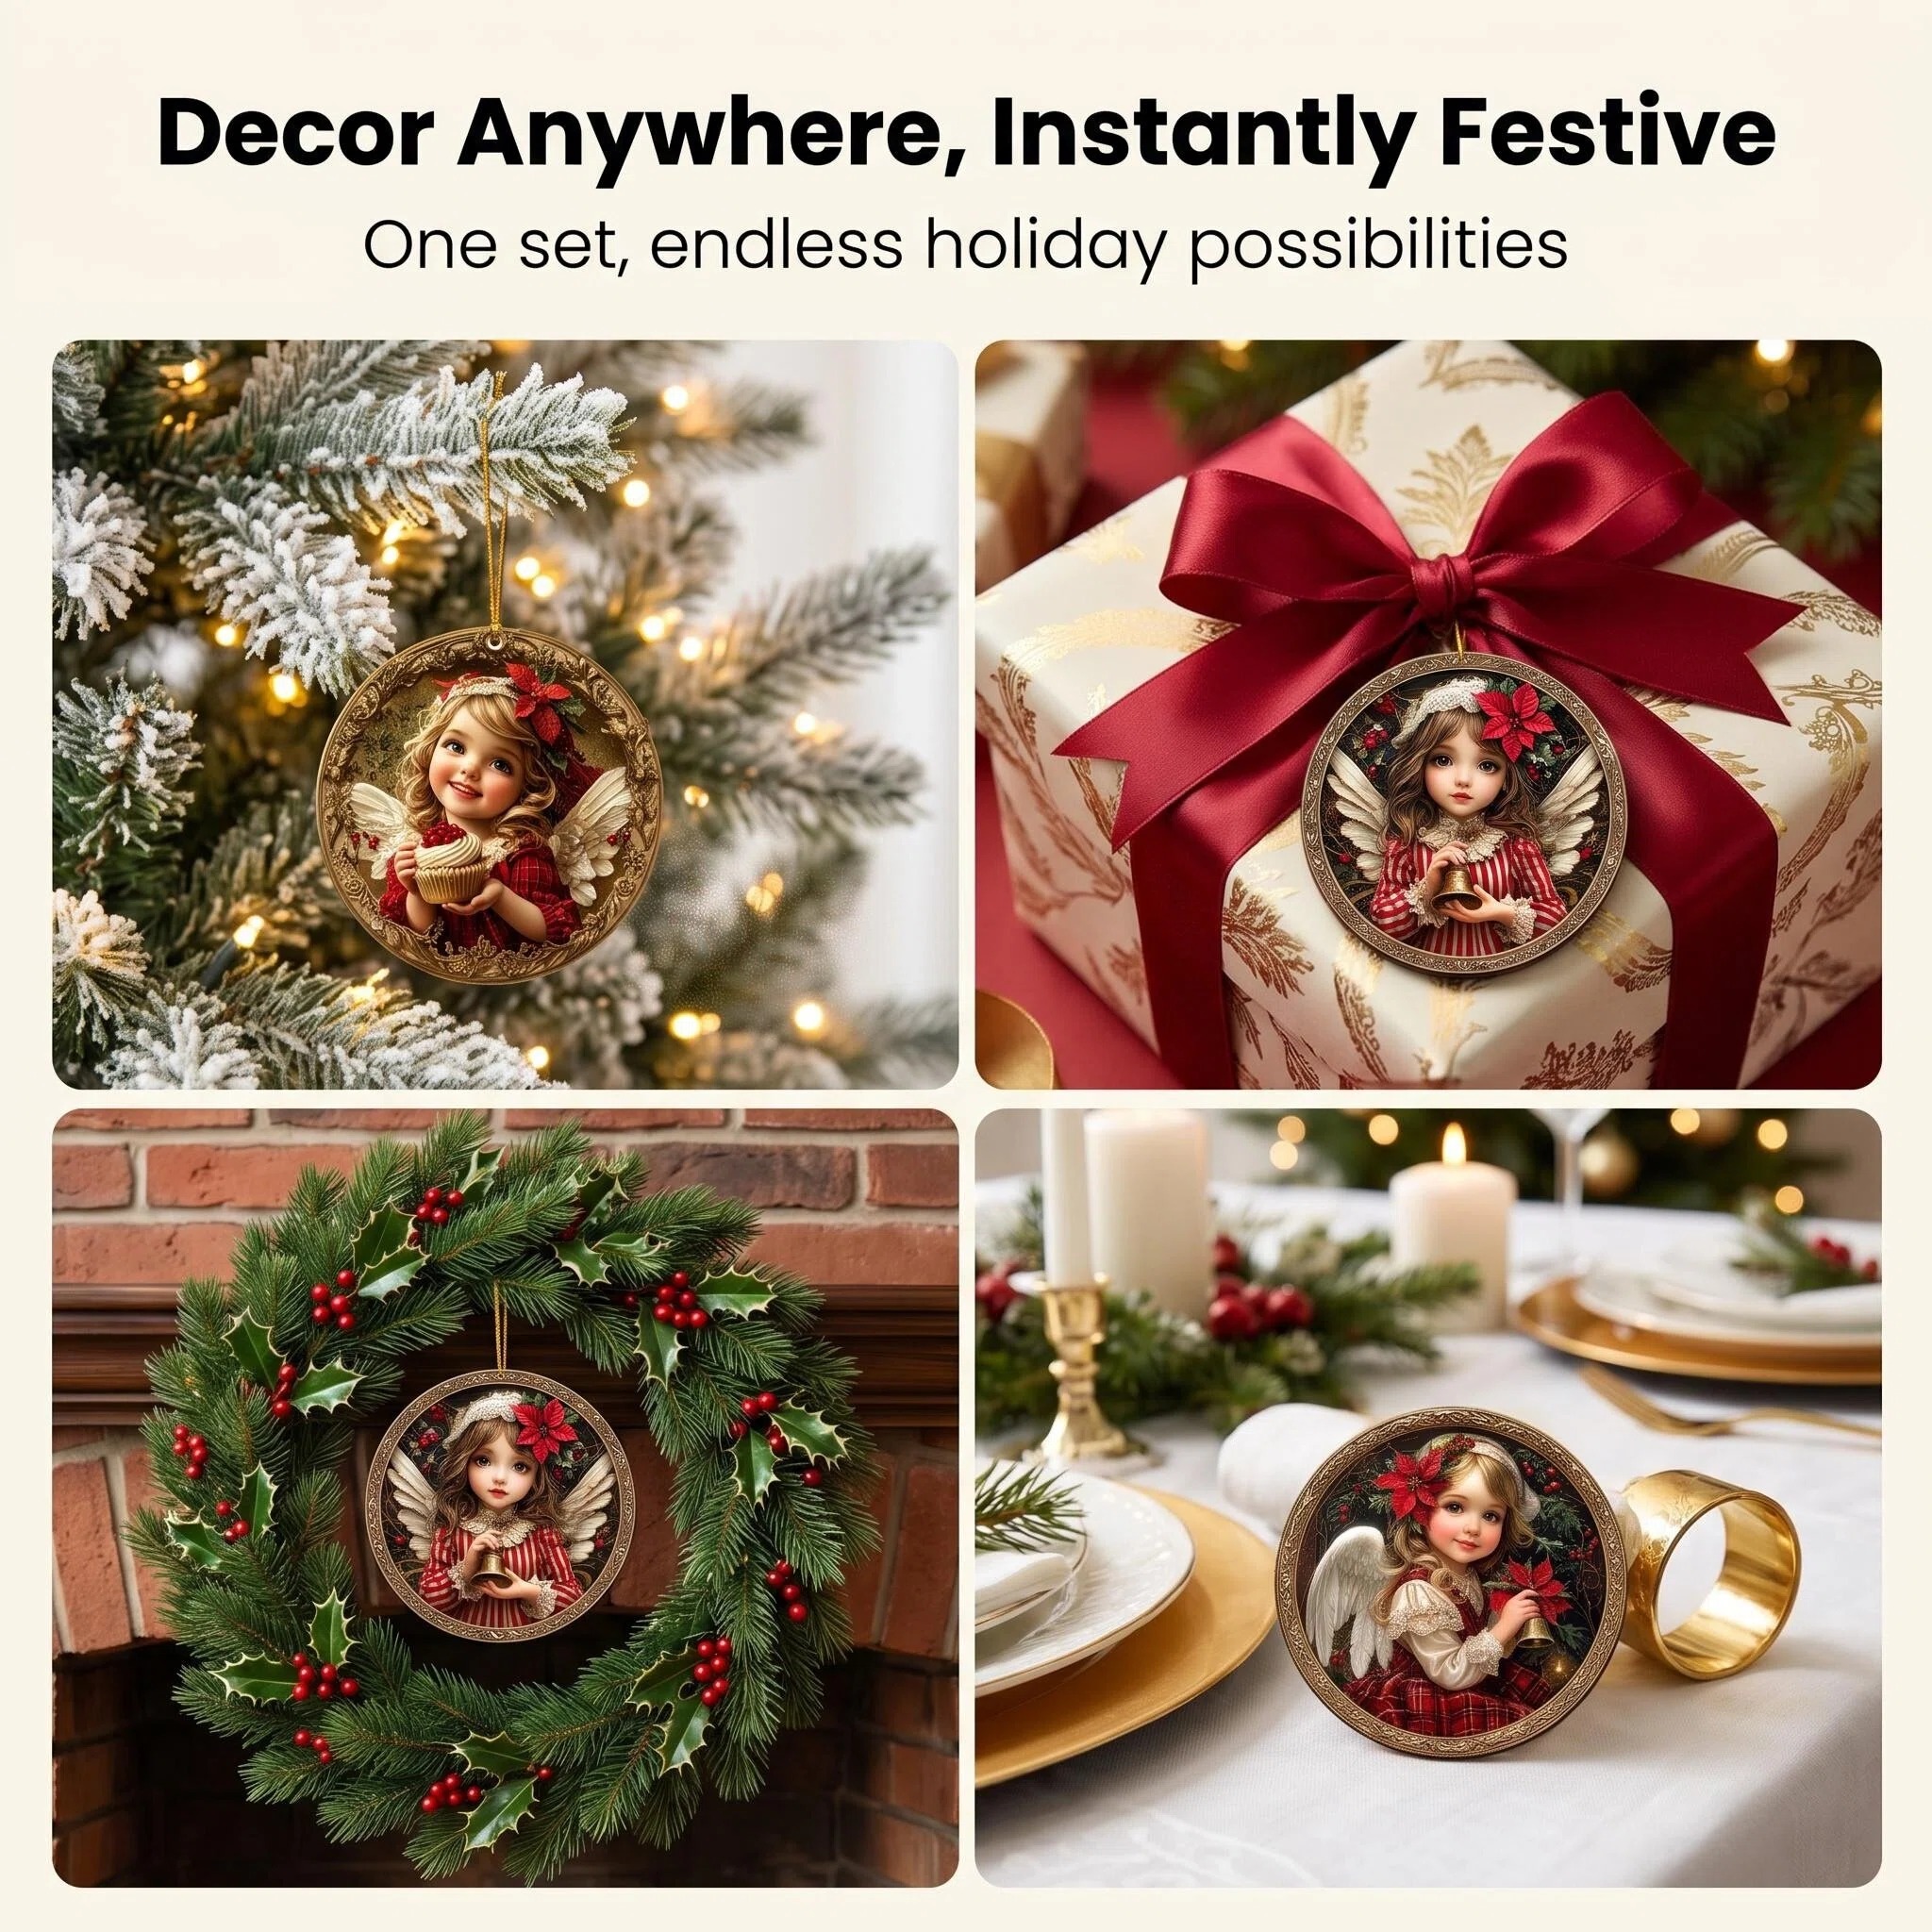
Step 2: Select Ready-Made Flat Wooden Ornaments That Fit the Look
With your theme set, choose finished ornaments that match its colors and mood. Ready-made ornaments let you move straight to styling rather than making or assembling decorations.
Check the set count before you choose. A larger set gives you more matching pieces, which can affect how widely you spread a design across the tree. Compare the number of pieces with the spots where you want the same design to appear, and choose a set that fits your plan.
Match the ornament subject to the job you want it to do. A music-themed ornament can support a music theme. Angels can repeat a traditional look across the tree, while snowmen add a cheerful accent. Choose a design whose color and character can help make a themed tree feel more personal.
When comparing ready-made ornament designs, don’t choose by color alone. Check the ornament shape and the number in the set, then consider how those pieces will look beside decorations you already own.
If you’re comparing ready-to-hang designs, our guide to flat Christmas ornaments for colorful trees can help you think through style and set size. Choose a design you’ll be glad to see across several branches, not only one that catches your eye in a product photo.
Step 3: Plan Ornament Quantity and Placement Before Hanging
Make a rough placement plan before you start. The right number depends on tree height, branch width, ornament size, and how much greenery you want to show. There’s no fixed count that suits every tree, so use your available set count as a guide rather than a rule.
First, decide whether the tree will look full or airy. A full display needs more pieces spread across the branches. An airy look leaves open gaps and lets the tree shape show. If you have one 18-piece set, for example, you could place its designs around the whole tree or keep them together as one clear theme. Neither choice is wrong. The goal is to make the arrangement look intentional.
Next, split your ornaments into small groups before hanging. If you have several designs, decide where each group will go. You might use angels near the center of the tree and snowmen around the outer sides. Or you could mix the shapes throughout so the same subject appears at different heights. Repeating a design in more than one area helps the eye move around the tree.
Think about scale as you plan. A small 2D wooden ornament can sit on a branch tip without hiding much greenery. Keep a clear view of each design by leaving some space around it. If the tree has a wide lower section, place more ornaments there and fewer near the narrow top. For a slim tree, spread pieces evenly from side to side.
Write a quick map if you’re decorating a large tree or more than one display. Mark where each set should go, then adjust as you work. The idea is not to follow a strict pattern. It’s to avoid hanging every piece in the first open spot and finding one side overloaded later.
A planned palette also helps you decide what not to use. If an ornament clashes with the colors you chose, save it for a smaller display elsewhere rather than forcing it onto the tree.
Step 4: Hang Ornaments for Visual Balance and Easy Viewing
Start with the ornaments that set the theme. Hang them across the front and sides of the tree, then step back to check how the colors and shapes spread. Keep turning around the tree as you decorate. A tree that looks balanced from one spot can still have a bare side.
Place flat wooden ornaments where their designs can face outward. Branches near the edge often make that easier. If a piece turns sideways, shift the hanging loop or move it to a steadier branch. Keep ornaments from bunching together, especially when several have similar colors. A little breathing room helps each one read clearly.
Work from the lower branches upward, or move around the tree in sections. Either way, pause after each section and check the overall balance. Hang a few pieces on the front, then repeat the color or subject on the left and right sides. This makes the tree feel connected without making every branch look the same.
The right number of ornaments depends on the tree and the look you want. Use your set count as a starting point, then leave enough open space to see the branches and each wooden design.
Keep the most meaningful or detailed ornaments near eye level, where people can notice them. Place a few higher up to carry the theme through the tree. If one spot feels crowded, move a piece rather than adding more nearby. It’s often the small adjustment that makes the display feel settled.

Step 5: Finish the Display and Style Extra Ornaments Around the Home
Once the tree is decorated, look at it from the doorway and from the seats where you spend time. Move any ornaments that are hidden behind branches or crowded by nearby pieces. Then check the lower section. If the same color or theme stops halfway down, shift a few ornaments so the design reaches the base.
Keep the finish simple. A tree skirt or a few wrapped gifts can frame the tree without competing with its ornaments. If you use a garland, leave room between it and the wooden designs so the faces or shapes stay visible. The best final touches support the tree. They don’t need to fill every gap.
Extra ornaments can carry the same theme into other parts of the room. Hang a wooden design on a wreath, or tie one to a wrapped gift as a reusable decoration. Place a small group on a mantel or shelf if the space is clear and the pieces can rest safely. Keep the same palette so these accents look related to the tree.
Ready-made wooden ornaments can be used across more than one spot without having to make matching pieces yourself. If you want the ornaments to appear as a group, repeat a few at the tree and use the remaining pieces on a nearby wreath or gift. If you’d rather keep the tree as the main feature, save the extra pieces for another room.
Before putting anything away, make a note of which sets worked well and where you used them. That makes next season’s setup faster. Store the wooden ornaments in a dry place where they won’t get bent or pressed under heavy items.
Frequently Asked Questions
How do I choose a theme for my Christmas tree?
Choose a theme by starting with the colors already in your room or the mood you want for the holidays. Pick two main colors, then select ornament shapes that suit them. A traditional theme might use angels or Santa designs, while a playful tree could feature snowmen. Repeat the chosen colors so different shapes still feel connected.
How many ornaments do I need for my tree?
The number depends on your tree’s height and width, the size of each ornament, and how full you want the display. Start with the pieces in your set, then hang a few and step back. If you want a fuller look, spread ornaments across open branches. For an airy look, leave more greenery visible.
Where should flat wooden ornaments go on a Christmas tree?
Hang flat wooden ornaments on branches where their designs can face outward and stay easy to see. Branch tips often work well, as long as they can support the piece. Spread similar colors around the tree instead of placing them all in one cluster. Move any ornament that turns sideways or disappears behind a branch.
Can I use the same ornaments on my tree and around the home?
Yes, you can use extra ornaments on a wreath, mantel, shelf, or wrapped gift. Keep the same theme or color palette so the smaller displays feel connected to the tree. Use just a few pieces in each spot, and make sure they’re secure. That way, the tree remains the main display rather than competing with several equally busy areas.
Conclusion
Choose a theme and palette first, then pick ready-to-hang wooden ornaments that fit both. Start by placing a few across the tree and step back before you hang the rest. When you’re ready, browse AdornXmas for an AdornJoy set that suits your holiday look.
0 comments